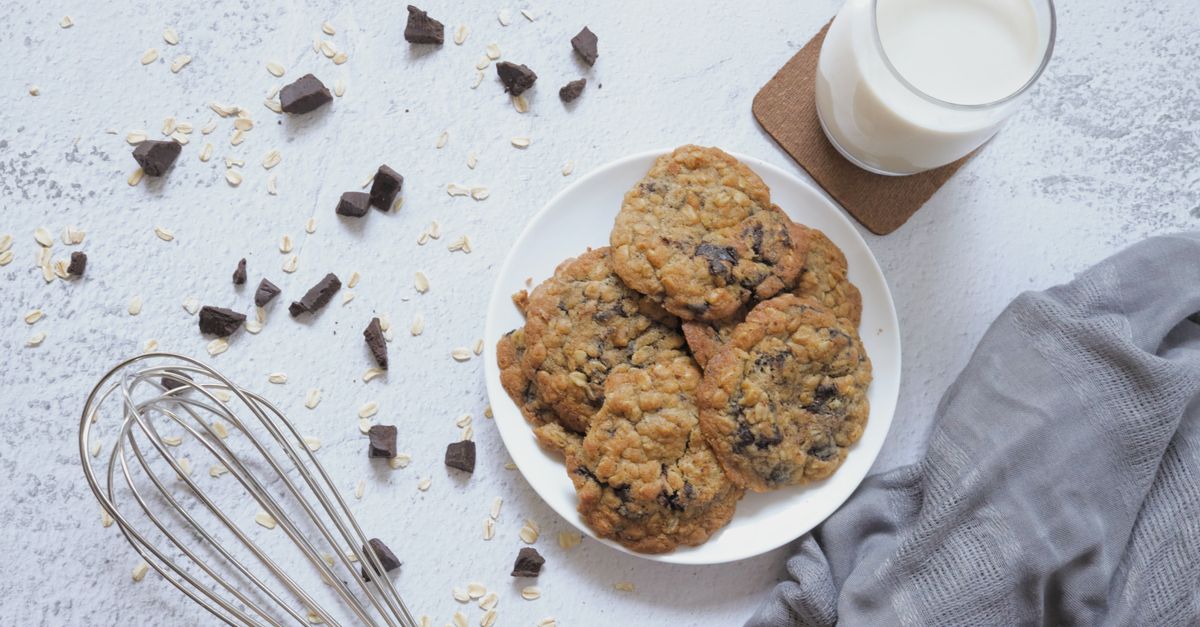
Why Your Homemade Cookies Are Flat (And The Simple Fixes That Guarantee Perfect, Puffy Results Every Time)
There’s nothing quite like the promise of a warm, perfectly puffy, chewy cookie straight from your oven. You picture those golden-brown edges, a soft, yielding center, and that satisfying chew. But if you’re like most home bakers, the reality often falls short. You pull out the baking sheet, only to find a tray of sad, thin, crispy discs that spread into oblivion. It’s disheartening, and it makes you wonder if bakery-quality cookies are an unattainable dream without industrial-grade ingredients or secret techniques.
I’ve been there. My early baking attempts often resulted in these notorious ‘pancake cookies,’ and I spent years troubleshooting. I blamed my oven, my flour, even the phase of the moon. What I eventually learned, through countless batches and a deep dive into baking science, is that the culprits are usually simple, often overlooked factors that can easily be corrected. It’s not about magic; it’s about understanding the delicate balance required for that ideal cookie structure. The mistake I see most often is bakers blindly following recipes without considering how ingredient temperature, mixing technique, and even the simple act of chilling can dramatically impact the final result. What changed everything for me was realizing these aren’t just ‘steps’ but critical chemical interactions.
Key Takeaways
- Ensure butter and eggs are at the correct room temperature for proper emulsion and air incorporation.
- Avoid overmixing dough once flour is added to prevent gluten development, which leads to tough, flat cookies.
- Chill your cookie dough for at least 30 minutes to solidify fats and prevent excessive spreading during baking.
- Use fresh baking soda and powder, and measure accurately with a kitchen scale for consistent, puffy results.
The Temperature Tango: Why Your Butter and Eggs Matter More Than You Think
One of the most common mistakes I see, and one I made for years, is using butter and eggs straight from the fridge or, conversely, butter that’s too soft or even melted. The temperature of these key ingredients is absolutely paramount to a cookie’s structure. Here’s why:
Butter: Most recipes call for ‘room temperature’ butter. This doesn’t mean soft, shiny, or melted. It means butter that’s cool enough to hold its shape but warm enough to be easily indented with a finger. Think around 65-68°F (18-20°C). When butter is at this ideal temperature, it can properly cream with sugar, trapping tiny air pockets. These air pockets are what give your cookies lift and a tender texture. If your butter is too cold, it won’t cream properly, and you’ll get a dense, flat cookie. If it’s too warm, the emulsion breaks, and the fat separates, leading to excessive spreading. In my experience, if your butter is even slightly too warm, your cookies are doomed to be flat. Aim for a perfect ‘pliable but not greasy’ consistency.
Eggs: Similarly, room temperature eggs (around 68-70°F or 20-21°C) integrate much more smoothly into the creamed butter and sugar mixture. Cold eggs can shock the emulsion, causing the fat and liquid to separate, which again, leads to less air incorporation and a flatter cookie. I always set my eggs out on the counter with my butter, usually an hour before I plan to bake. This simple step, which takes no extra effort, guarantees a smoother, more cohesive dough.
Actionable Tip: To quickly bring cold butter to temperature, cut it into small pieces and let it sit for 15-20 minutes. For eggs, place them in a bowl of warm (not hot) water for 5-10 minutes. Test your butter by pressing a finger into it – it should leave an indentation without your finger sinking all the way through.
The Overmixing Trap: When Less Really Is More
After you’ve creamed your butter and sugar, and added your room-temperature eggs, the next critical stage is incorporating the dry ingredients. This is where many home bakers fall into the overmixing trap, myself included, until I understood the science of gluten. Flour contains proteins that, when hydrated and agitated (mixed), develop gluten strands. While essential for bread’s chewy structure, too much gluten in cookies leads to a tough, dry, and flat result.
Think about it: strong gluten strands create a rigid network that resists expansion during baking. Instead of puffing up, the cookie spreads outward, becoming thin and crispy. The moment you add flour, your mission is to mix just enough until no dry streaks remain. That’s it. Don’t beat it on high speed, don’t keep mixing for an extra minute ‘just to be sure.’ As soon as you see the last speck of flour disappear, stop. The dough might still look a little shaggy or sticky, and that’s perfectly fine.
In my early days, I used to think a perfectly smooth, uniform dough was the goal. It turns out, that’s often the enemy of a puffy cookie. What changed everything for me was learning to trust the process – to stop mixing when the dry ingredients were barely combined. It felt counter-intuitive at first, but the results were undeniable: noticeably softer, thicker cookies.
Actionable Tip: Once you add the dry ingredients, switch to a lower speed on your mixer or even mix by hand with a sturdy spatula. Mix only until the flour is just incorporated, often just 30-60 seconds. Err on the side of slightly undermixing rather than overmixing.
The Chilling Conundrum: The Secret to Stopping the Spread
If you’re making cookies and baking them immediately, especially in a warm kitchen, you’re practically guaranteeing a flat cookie. Chilling the dough is not an optional step; it’s a non-negotiable one for optimal texture and shape. Here’s why it’s so critical:
Solidifying Fats: When you chill cookie dough, the butter (or other fat) solidifies. This firm butter melts slower in the oven. A slower melt means the cookie holds its shape longer, allowing the leavening agents (baking soda/powder) more time to produce gases and create that coveted puffiness before the fat spreads too much. If the butter melts too quickly, the cookie collapses and spreads out.
Hydration and Flavor: Chilling also allows the flour to fully hydrate, which reduces spreading. Furthermore, it gives the flavors in the dough time to meld and deepen, resulting in a more complex and delicious cookie. This is why chilled dough often produces cookies that taste even better.
I used to skip chilling all the time, eager to get my cookies into the oven. I’d rush, and then be disappointed by the flat results. What changed everything for me was realizing that patience is a virtue in baking. Now, I often chill my dough for a minimum of 30 minutes, and for certain recipes, I’ll even chill it overnight or for up to 72 hours. The difference in texture, chewiness, and height is astounding.
Actionable Tip: After mixing, scoop your dough onto a baking sheet or roll it into a log, then cover tightly with plastic wrap and refrigerate for at least 30 minutes. For even better results, chill for 2-4 hours. You can even freeze scooped dough balls for future baking – just add an extra minute or two to the bake time.
Leavening Agents: Freshness, Quantity, and the Science of Rise
The power players behind a puffy cookie are your leavening agents: baking soda and baking powder. But their effectiveness is often misunderstood or overlooked. Their job is to produce carbon dioxide gas, which gets trapped in the dough and creates air pockets, giving your cookies lift and a soft crumb.
Freshness: This is huge. Baking soda and powder lose their potency over time. An old container of either can lead to lackluster results. How old is your baking soda? When did you open that baking powder? If you can’t remember, it’s probably time to replace them. A simple test for baking soda: mix a teaspoon with a tablespoon of vinegar. If it fizzes vigorously, it’s good. For baking powder: mix a teaspoon with a tablespoon of hot water. If it fizzes, it’s active.
Quantity: Recipes are precise for a reason. Too little leavening, and your cookies won’t rise. Too much, and they can rise too quickly and collapse, leaving a weird metallic aftertaste, or even cause excessive spreading due to an overly acidic reaction. Over-measuring flour can also dilute the leavening power, leading to flatter cookies.
Measurement Accuracy: This leads to my next crucial point: stop scooping flour directly from the bag with a measuring cup! This compacts the flour, adding far more than the recipe intends. Extra flour makes dough stiff, dense, and contributes to flatness. I made this mistake for years. What changed everything for me was investing in a simple kitchen scale. Measuring by weight (grams) is far more accurate and consistent than by volume (cups), especially for flour.
Actionable Tip: Replace baking soda and powder every 6-12 months. Always spoon flour into your measuring cup and then level it off with a straight edge (the ‘fluff, spoon, level’ method), or better yet, use a kitchen scale to measure all dry ingredients by weight for precision.
Oven Temperature & Pan Choice: The Unsung Heroes
Even with perfectly prepared dough, your oven and chosen baking equipment can sabotage your quest for the perfect puffy cookie. These elements dictate how evenly and quickly your cookies bake and set.
Oven Temperature: An oven that’s too cool will cause cookies to spread excessively before they set, leading to flatness. An oven that’s too hot can burn the edges before the center has a chance to bake through. Most home ovens are notoriously inaccurate, often varying by 25-50°F from the set temperature. This was a shocking discovery for me. I bought an inexpensive oven thermometer, and it revealed my oven was consistently running 30 degrees cooler than what the dial indicated! Adjusting my oven’s thermostat based on that thermometer’s reading was a game-changer.
Baking Sheets: The material and color of your baking sheets play a significant role. Dark-colored sheets absorb more heat and can cause cookies to brown (or burn) too quickly on the bottom, while the top might still be undercooked. Light-colored, heavy-gauge aluminum baking sheets are generally the best choice for even baking. They reflect heat, promoting a more uniform bake and preventing overly dark bottoms. Also, avoid greasing your baking sheets unless the recipe specifically calls for it; parchment paper or silicone mats are far better for non-stick results and help prevent spreading.
Actionable Tip: Invest in an oven thermometer to verify your oven’s actual temperature and adjust accordingly. Use light-colored, heavy-duty aluminum baking sheets lined with parchment paper or silicone baking mats for even heat distribution and easy release.
Frequently Asked Questions
Q: Why are my cookies still flat even after chilling the dough?
A: Even with chilling, other factors can cause flatness. Double-check your butter’s temperature when creaming (not too soft), ensure your leavening agents are fresh and accurately measured, and avoid overmixing the flour once added. An inaccurate oven temperature can also contribute, so use an oven thermometer.
Q: Can I rescue flat cookie dough?
A: Sometimes! If your dough is too warm, chilling it for longer (up to 24-48 hours) can help. If you suspect overmixing, you can try adding a tablespoon or two of extra flour, mixing minimally, and re-chilling. However, a fundamentally overmixed or improperly leavened dough is hard to fully salvage.
Q: Does the type of flour affect cookie thickness?
A: Yes, to a degree. All-purpose flour is standard. Using cake flour (lower protein) can result in a more tender, slightly less structured cookie, potentially leading to more spread. Bread flour (higher protein) can lead to tougher, chewier cookies that might spread less due to increased gluten formation. Stick to the flour type specified in the recipe.
Q: How important is measuring ingredients accurately?
A: Extremely important, especially for baking. Small inaccuracies, particularly with flour and leavening agents, can drastically alter the texture and structure of your cookies. Using a kitchen scale to measure by weight is the most accurate method.
Q: What if my oven runs hot or cold?
A: An oven thermometer is your best friend. If your oven consistently runs hot, lower the temperature setting by 10-25°F. If it runs cold, increase it by the same amount. Test with a few batches to find the sweet spot. Proper oven calibration is crucial for consistent baking results.
Conclusion
Achieving that perfectly puffy, chewy cookie isn’t about some secret ingredient or complex technique; it’s about meticulous attention to the fundamentals. By mastering the ‘temperature tango’ of butter and eggs, avoiding the overmixing trap, embracing the power of chilling, ensuring your leavening agents are fresh and accurately measured, and understanding your oven’s true temperature, you’ll transform your baking. The journey from flat, crispy disappointments to consistently delightful, pillowy cookies is often just a few simple adjustments away. Start by trying just one of these tips in your next batch, and you’ll likely see a noticeable difference. Happy baking!
Written by Sophia Rodriguez
Budgeting & Everyday Living
An experienced lifestyle blogger, Sophia brings creative solutions for budgeting, cooking, and simplified living.
You Might Also Like

Why Your Home Still Feels Unclean (Even After Cleaning) — And The Hidden Culprits Nobody Talks About
Discover the hidden reasons your home still feels dirty after cleaning, and learn effective strategies for lasting freshness.

Why Your Homemade Yogurt Lacks That Perfect Tartness (And The Pro Secrets for Truly Tangy Flavor)
Discover why your homemade yogurt falls flat on flavor and learn the pro secrets to achieve that delightful tart and tangy taste you crave.

Why Your Home Humidifier Isn't Working (And The Simple Fixes Most People Miss)
Struggling with a dry home even with a humidifier? Learn common mistakes and simple fixes to get real comfort and ideal humidity levels.