
Why Your Homemade Yogurt Lacks That Perfect Tartness (And The Pro Secrets for Truly Tangy Flavor)
You’ve done it. You’ve mastered the creamy texture, the perfect thickness, and the satisfaction of making your own yogurt at home. But then you taste it, and it’s… mild. Pleasant, certainly, but it lacks that characteristic zing, that irresistible tartness that makes a good yogurt truly shine. In my experience, this is the most common frustration for home yogurt makers. It’s not about the milk, or even necessarily the starter, but a combination of often-overlooked factors that dictate the depth of its tangy character. I used to be in the same boat, churning out batch after batch of perfectly set but ultimately bland yogurt. What changed everything for me wasn’t a magic ingredient, but a deeper understanding of the microbiology at play.
Key Takeaways
- The primary cause of bland homemade yogurt is insufficient fermentation time and temperature.
- Using a high-quality, fresh starter culture with robust thermophilic strains is crucial for developing tartness.
- Lengthening the fermentation period, even slightly, allows more lactic acid to develop, increasing tang.
- Lowering the incubation temperature can extend fermentation safely, enhancing flavor complexity.
- Straining after fermentation, not before, concentrates both creaminess and tang.
The Overlooked Power of Your Starter Culture
The most common mistake I see home yogurt makers make is underestimating the impact of their starter culture. Many people grab whatever commercial yogurt is on sale, or reuse a starter that’s seen too many generations. The truth is, the type and vitality of your starter dictate the entire flavor profile of your final product. For that authentic tart and tangy flavor, you need a starter rich in specific thermophilic (heat-loving) bacteria, particularly Lactobacillus bulgaricus and Streptococcus thermophilus. These aren’t just names on a label; they’re the workhorses responsible for converting lactose into lactic acid, which is what gives yogurt its characteristic tang.
In my own journey, I initially cycled through several store-bought yogurts as starters. Some yielded a mildly acidic flavor, others were just… milky. It wasn’t until I invested in a dedicated heirloom yogurt culture that I truly understood the difference. A high-quality heirloom culture contains a diverse and robust blend of bacteria, often including strains like Lactobacillus acidophilus and Bifidobacterium lactis, which contribute to a more complex, well-rounded tartness, not just a one-note sourness. These cultures are designed to be self-propagating for many batches, maintaining their vigor if handled correctly. Always opt for the freshest starter possible, whether it’s a freeze-dried culture or a small pot of plain, unsweetened yogurt with active cultures and no additives. The fresher and more active your starter, the quicker and more effectively it will get to work, producing that delightful tartness.
Time is Your Tang’s Best Friend: The Art of Longer Fermentation
Many beginner recipes suggest a fermentation time of 6-8 hours, promising a perfectly set yogurt. While this might achieve the desired texture, it often falls short on flavor. The truth is, tartness develops over time. Lactic acid bacteria need sufficient time to convert the lactose in the milk into lactic acid. A shorter fermentation period means less lactic acid production, resulting in a milder, less tangy yogurt.
What changed everything for my yogurt was simply extending the fermentation. Instead of aiming for 6-8 hours, I started aiming for 10-14 hours. It sounds like a big jump, but the difference in flavor is profound. The yogurt develops a deeper, more complex tang that brightens the entire experience. Of course, there’s a balance: too long, and your yogurt can become excessively sour, curdle, or even separate. In my kitchen, 12 hours often hits the sweet spot for a beautifully tart and creamy result. If you’re using an instant pot, this might mean adjusting your ‘yogurt’ setting, or simply letting it go longer on a lower ‘keep warm’ setting if your model allows for very low temperatures.
The Goldilocks Zone: Temperature for Optimal Tang
Fermentation temperature is often cited as a narrow range, typically 108-115°F (42-46°C). And while this range is critical for bacterial activity, subtly adjusting it can significantly impact the final tartness. In my experience, many home yogurt makers incubate their yogurt at the higher end of this range for a faster set. However, a slightly lower temperature, say 105-110°F (40-43°C), allows for a slower, more controlled fermentation. This extended, gentler process gives the bacteria more time to produce lactic acid before the milk proteins fully set, contributing to a more pronounced and nuanced tang.
Think of it like slow-cooking versus high-heat searing. Both cook the food, but the slow cook allows flavors to meld and deepen. Similarly, a slightly lower incubation temperature, coupled with longer fermentation, cultivates a richer, more complex tartness. If your yogurt maker or instant pot has precise temperature control, experiment with dipping just below the commonly recommended upper limits. Consistent temperature is key, so avoid opening your incubator frequently. What you’re looking for is a steady environment where the bacteria can do their work without being rushed or overheated.
Post-Fermentation Straining: Concentrating the Goodness
Many people strain their yogurt to achieve a thicker, Greek-style consistency. However, a lesser-known benefit of straining after fermentation is its ability to concentrate the flavors, including that coveted tartness. When you strain yogurt, you remove whey – the watery liquid containing lactose, some minerals, and water. What’s left behind is a more concentrated yogurt, richer in protein, fat, and importantly, the lactic acid that defines its tangy profile.
I used to strain my milk before culturing, thinking it would lead to a thicker yogurt. While it did, the flavor was always muted. The real game-changer was straining after the fermentation process was complete and the yogurt had chilled for a few hours. This allows all the tartness to develop in the full volume of milk, and then by straining, you’re essentially condensing that developed flavor. The result is a dramatically thicker, creamier, and most importantly, much tangier yogurt. Use a cheesecloth-lined colander over a bowl, or a dedicated Greek yogurt strainer, and let it drain in the refrigerator for 2-8 hours, depending on your desired thickness and tang. The longer you strain, the more concentrated the flavor will be.
Feed Your Bacteria Right: Milk Choices Matter More Than You Think
While the bacteria do the heavy lifting, the quality and type of milk you provide them with significantly influence the final flavor, including tartness. Not all milks are created equal when it comes to yogurt making. Ultra-pasteurized (UHT) milk, for instance, often results in a milder yogurt. The intense heat treatment denatures proteins differently and can affect the availability of lactose for the bacteria, leading to less robust fermentation and thus, less tang.
For truly tangy yogurt, I exclusively use whole milk that is pasteurized but not ultra-pasteurized. The higher fat content contributes to a richer mouthfeel which balances the tartness, and the less aggressively processed proteins create a better environment for your starter. Some people even add a few tablespoons of dry milk powder per quart (liter) of milk. This increases the protein and lactose concentration, giving your starter more ‘food’ to work with. More food means more vigorous fermentation, which translates directly to more lactic acid production and, therefore, more tang. This small addition can make a noticeable difference in both texture and flavor, yielding a yogurt that is both thicker and more satisfyingly tart.
Frequently Asked Questions
Q: My homemade yogurt is set, but it’s still bland. What’s the quickest fix for my next batch?
A: The quickest fix is to extend your fermentation time. Even an extra 2-4 hours beyond what your recipe suggests can significantly increase tartness. Also, ensure your starter culture is fresh and active.
Q: Can I make my already-made yogurt tangier?
A: Unfortunately, once yogurt has finished fermenting and has been chilled, its flavor profile is largely set. You can’t actively make it tangier after the fact. However, you can add tart fruits (like berries or kiwi) or a squeeze of lemon juice to enhance the perception of tanginess.
Q: Does the type of milk affect tartness?
A: Yes, absolutely. Whole milk that is pasteurized (but not ultra-pasteurized) generally provides a better substrate for bacterial activity, leading to a more robust and tangier flavor. Adding dry milk powder can also increase lactose, giving bacteria more to convert into lactic acid.
Q: How do I know if my yogurt is over-fermented?
A: Over-fermented yogurt will often appear curdled or separated, with a large amount of clear whey on top. The taste will be intensely sour, sometimes with a yeasty or ‘off’ flavor. The texture may also be grainy or lumpy.
Q: What’s the ideal temperature range for tangy yogurt?
A: While 108-115°F (42-46°C) is common, aiming for the lower end of that spectrum, around 105-110°F (40-43°C), and allowing for longer fermentation, can yield a more complex and pronounced tartness without over-souring.
Making your own truly tangy yogurt at home is an incredibly rewarding experience that moves beyond simply saving money. It’s about crafting a superior product, tailored to your taste. By focusing on a vibrant starter, extending fermentation time, maintaining a slightly lower temperature, and straining post-fermentation, you’ll transform your homemade yogurt from merely acceptable to irresistibly tart and bursting with flavor. Don’t be afraid to experiment with these subtle shifts – your taste buds will thank you!
Written by Sophia Rodriguez
Budgeting & Everyday Living
An experienced lifestyle blogger, Sophia brings creative solutions for budgeting, cooking, and simplified living.
You Might Also Like

Why Your Home Still Feels Unclean (Even After Cleaning) — And The Hidden Culprits Nobody Talks About
Discover the hidden reasons your home still feels dirty after cleaning, and learn effective strategies for lasting freshness.
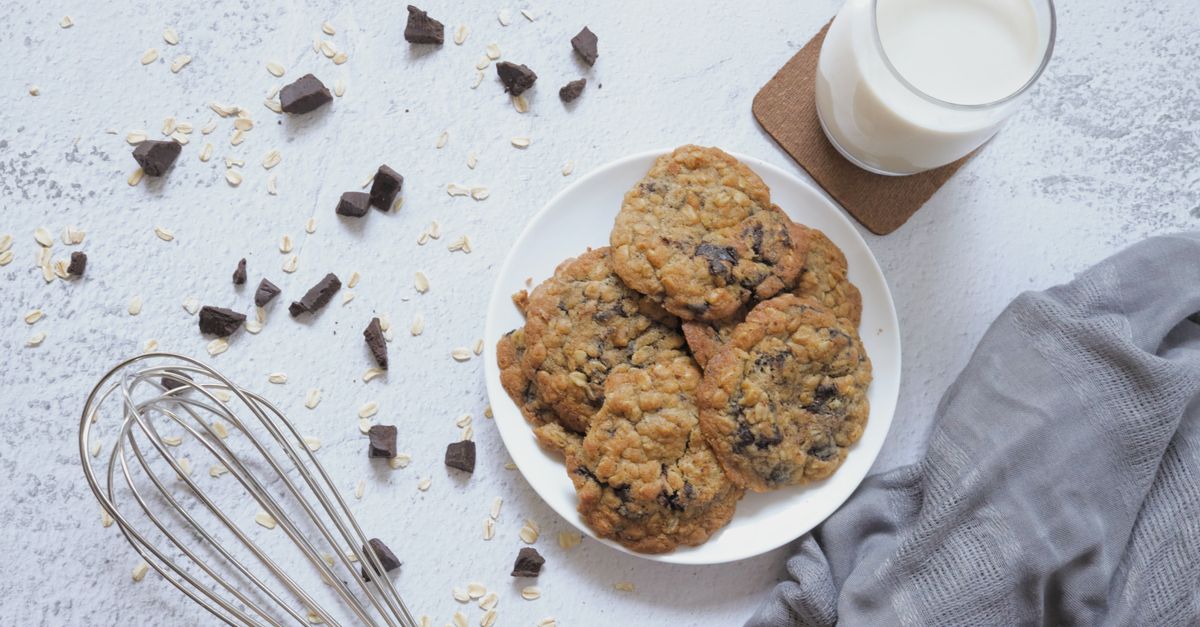
Why Your Homemade Cookies Are Flat (And The Simple Fixes That Guarantee Perfect, Puffy Results Every Time)
Stop making flat, crispy cookies. Discover the simple fixes to guarantee perfectly puffy, chewy homemade cookies every time, from ingredient temp to chilling.

Why Your Home Humidifier Isn't Working (And The Simple Fixes Most People Miss)
Struggling with a dry home even with a humidifier? Learn common mistakes and simple fixes to get real comfort and ideal humidity levels.